DIY Installation Guide
Measure the length and width of your garage floor in metres. Multiply the two together to get your total area in square metres. Each tile covers 0.16 m² (400 mm × 400 mm). Use our tile calculator on the home page to get an exact tile count.
We recommend ordering an extra 5–10% to allow for cuts around walls, posts, or drains. Especially important if your layout involves a lot of cuts.
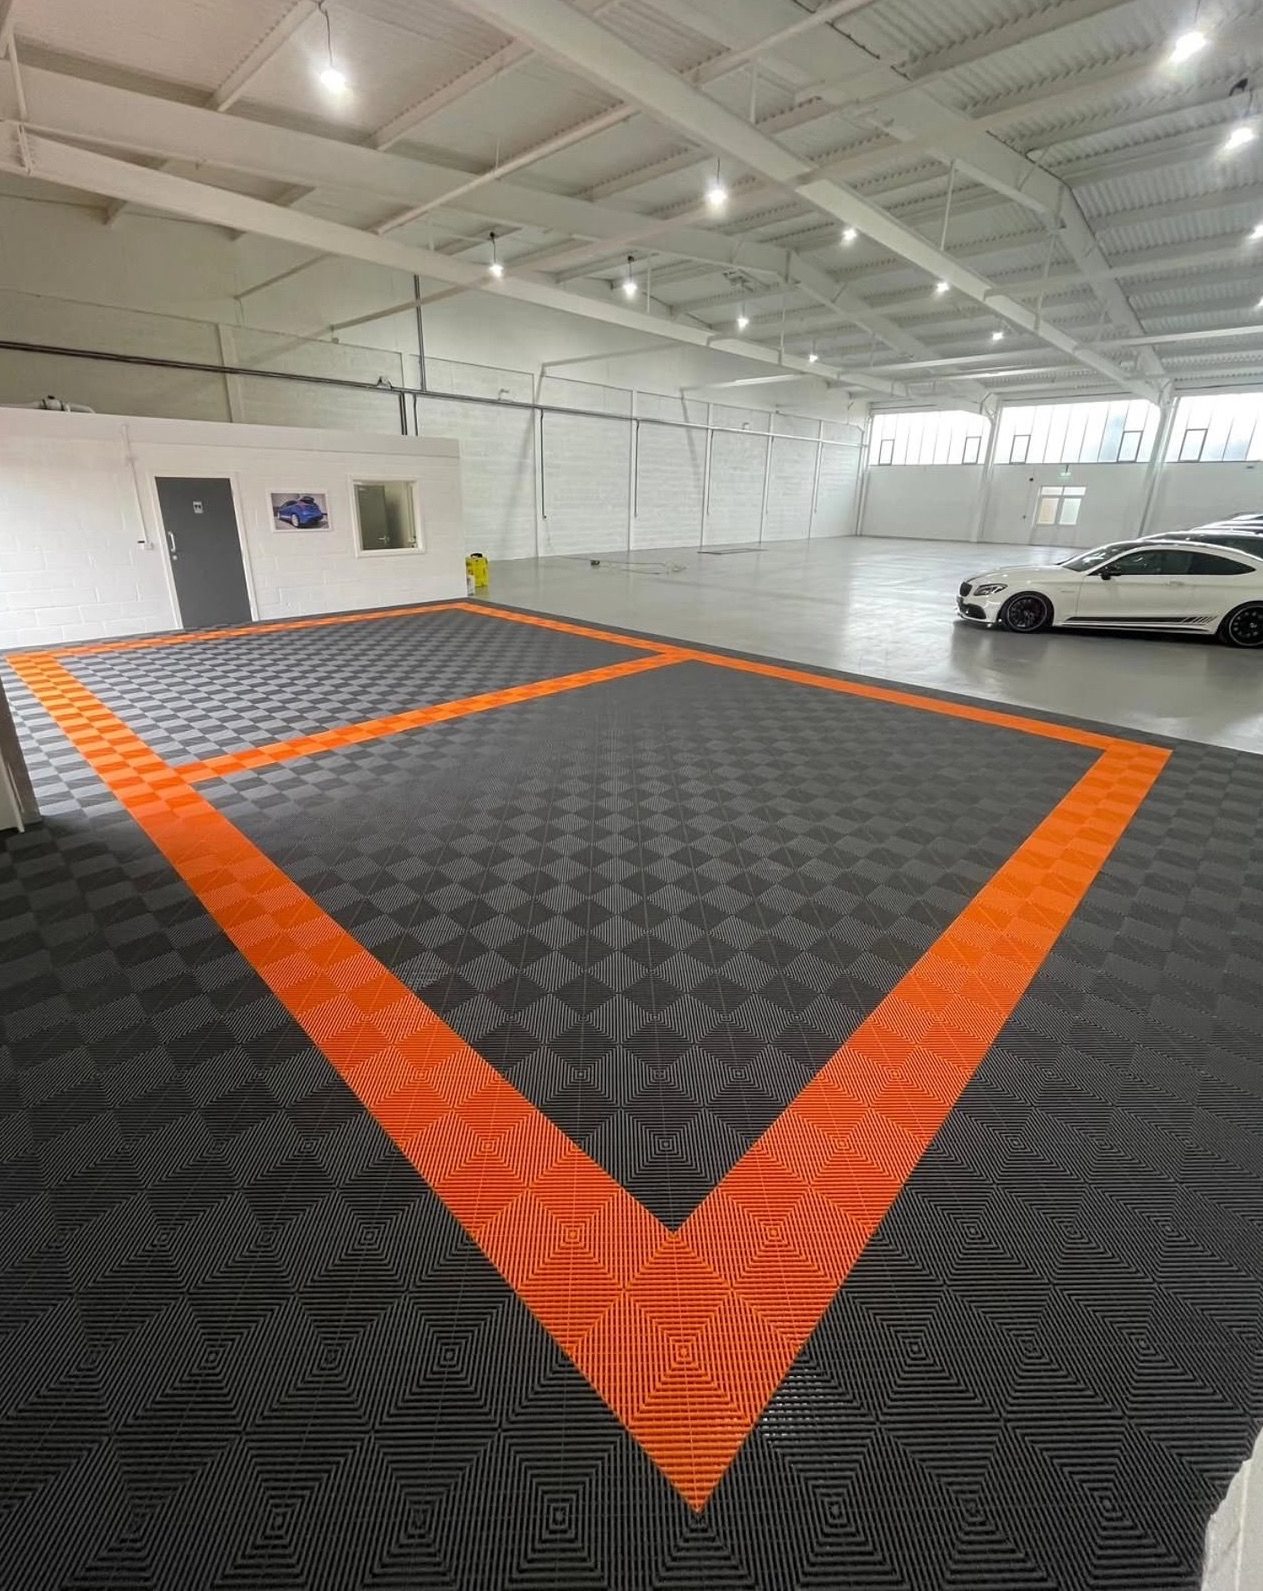
Check out our Patterns page for inspiration. Designs are shown on a standard 6 m × 6 m double garage using a 15×15 tile layout.
Sweep or vacuum the floor to remove dirt, dust, and debris. The floor should be dry and reasonably flat. Garage Pro tiles work on both sealed and unsealed concrete. No adhesive or primer needed. The tiles sit directly on the floor.
If your floor has a large crack or significant uneven area, pack or sand it flat first. Small imperfections are fine. The tiles will bridge them.
Start laying your tiles in one front corner of the garage door. Build an L shape with your tiles, pointing the connecting loops in the directions you'll expand. Remember to leave enough room ensuring that when the garage door is closed the floor and edges are inside the garage door.
For tight spots or corners, a rubber mallet makes seating tiles easier. A standard jigsaw or drop saw cuts tiles cleanly for around posts, drains, or odd-shaped walls.
Lastly trim tiles to fit seamlessly with any walls, stairs or poles. Make sure to leave a 10mm gap for expansion along any walls or solid objects. Measure twice, cut once. We recommend getting some spare tiles in case of any mistakes when trimming the tiles.
Start at one front corner and lay tiles in an L shape, then fill inward row by row.
Complete each row fully before moving to the next, working from the door toward the back wall.
Measure and cut perimeter tiles to fit, leaving a 10mm expansion gap along walls and fixed objects.
For measuring your floor dimensions and planning your layout.
Optional but helpful for tapping tiles firmly into place.
For cutting tiles around posts, drains, and edges.
Clean the floor before laying to ensure tiles sit flat.
Helps keep rows straight on larger floors.
Including edge ramps and corner pieces for a clean finish.

Edge ramps and corner pieces create a clean, bevelled transition at every garage entrance and wall edge.
Tell us your garage dimensions and colour ideas. We'll get back with an exact price and layout plan, usually within a few hours.